How to Install Wainscoting
Basic accessories needed for assembly
- a level,
- a measure tape and a pencil,
- an electric circular saw with fine teeth (if you need to cut)
- adhesive dispenser/ Caulk gun
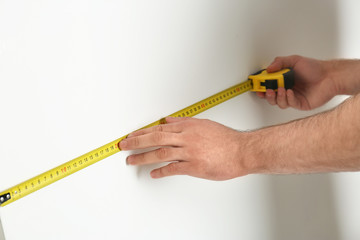
Measure the length of the walls. Note each wall’s length on paper. Divide the wall by the panel size. Repeat the process on the remaining walls and jot down how many panels the room needs.

Decorative elements should be acclimatised in the room where they will be assembled, in the original box, for at least 72 hours. If is recommended to assemble not earlier than after fixing the joinery and finishing all "wet" construc¬tion work (e.g. tile laying, plastering, levelling, painting, etc. Walls suitable for decorative elements should be dry, stable, of permanent structure, sufficiently durable, even, and mois¬ture resistant. In the case of assembly with mounting adhesives, the base should additionally be degreased and cleaned.
The adhesive should be applied on panel in at least four evenly spaced rows and as wide as element being fixed.
Next step is install top moulding. First of all you need to cut lenght to suite bottom panels. Cut mitre in the corner if necessery.
Add glue along the back side of the top moulding and fix to the wall.
Before commissioning the room, you should wait for at least 24h (sufficient adhesive setting time).
If you have purchased raw mdf panels, after mounting them on the wall, you can supplement the joints of the panels with ACRYLIC SEALANT. Then apply a layer of primer or paint and sand with sandpaper type 200. After cleaning, apply two coats of finishing paint. Dedicated paint is a water-soluble acrylic enamel for mdf from any manufacturer. If you have purchased a lacquered product, skip these steps.
